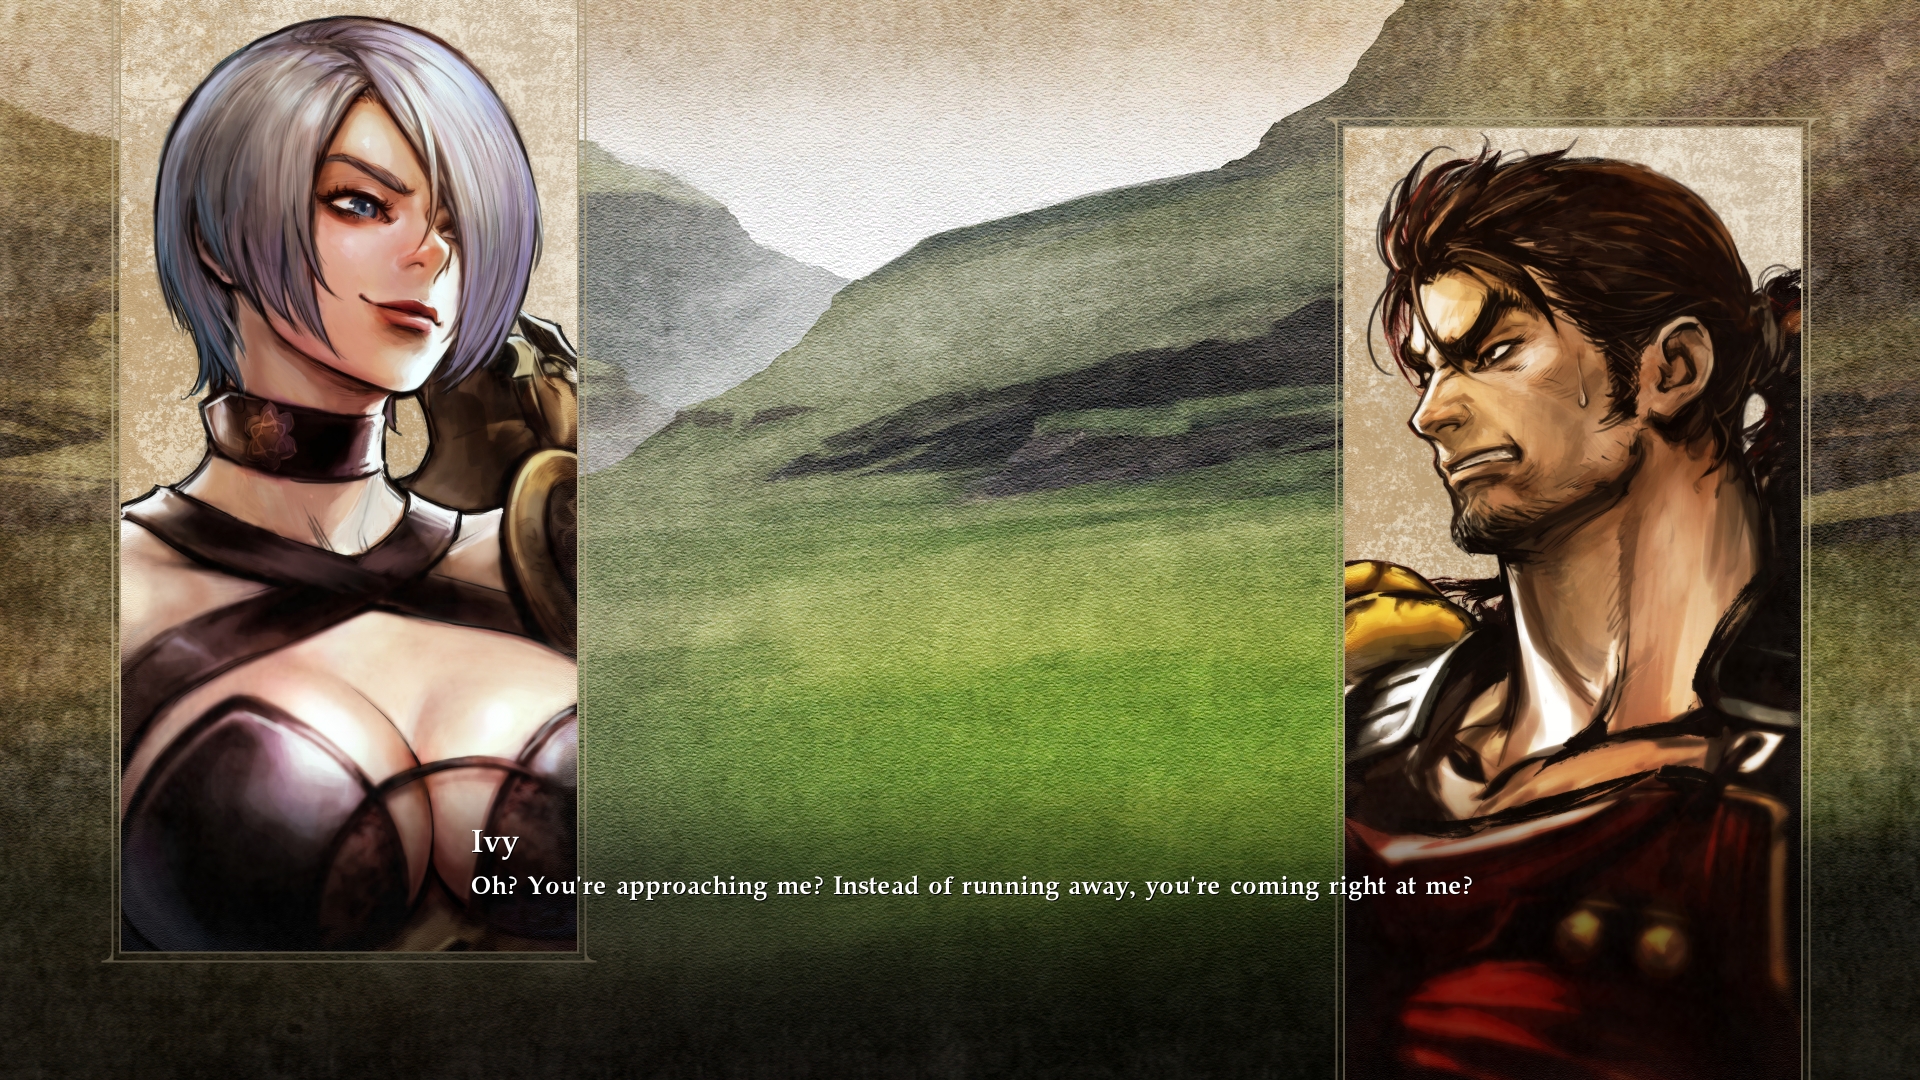
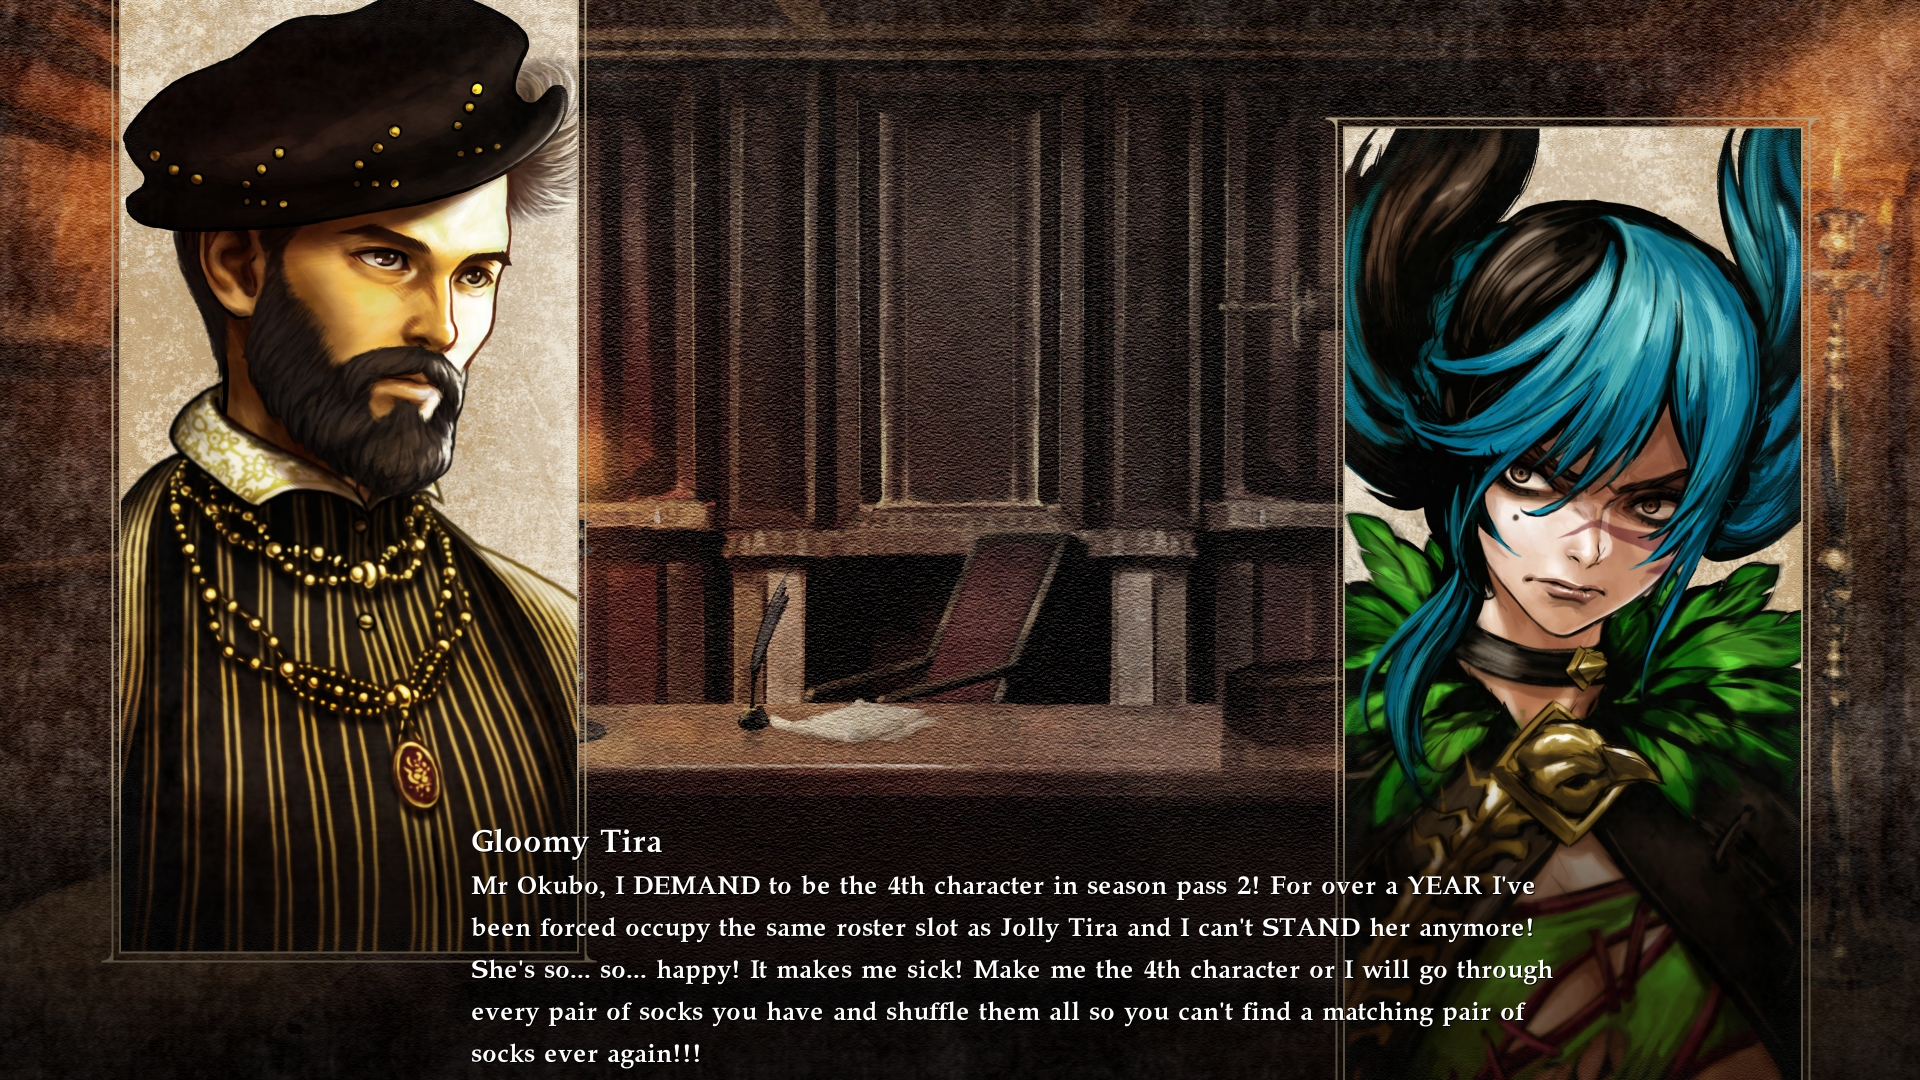
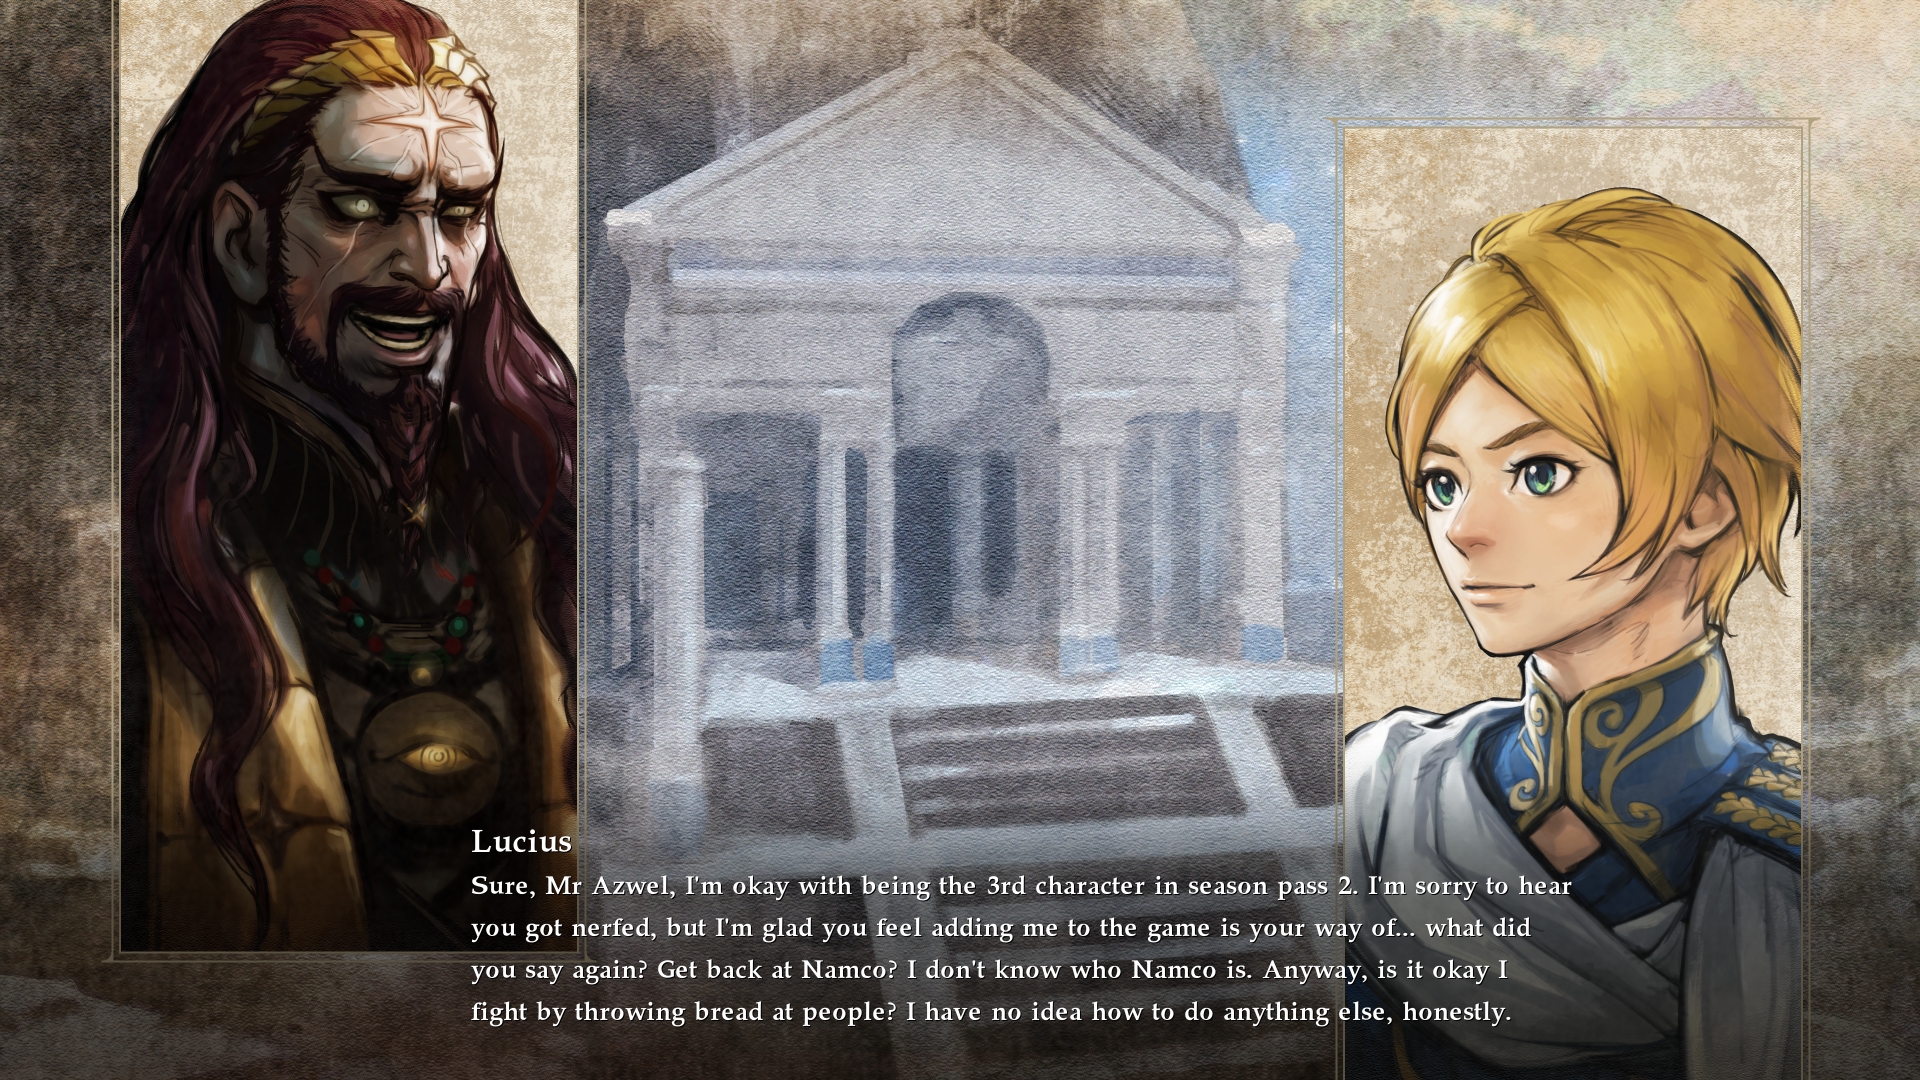
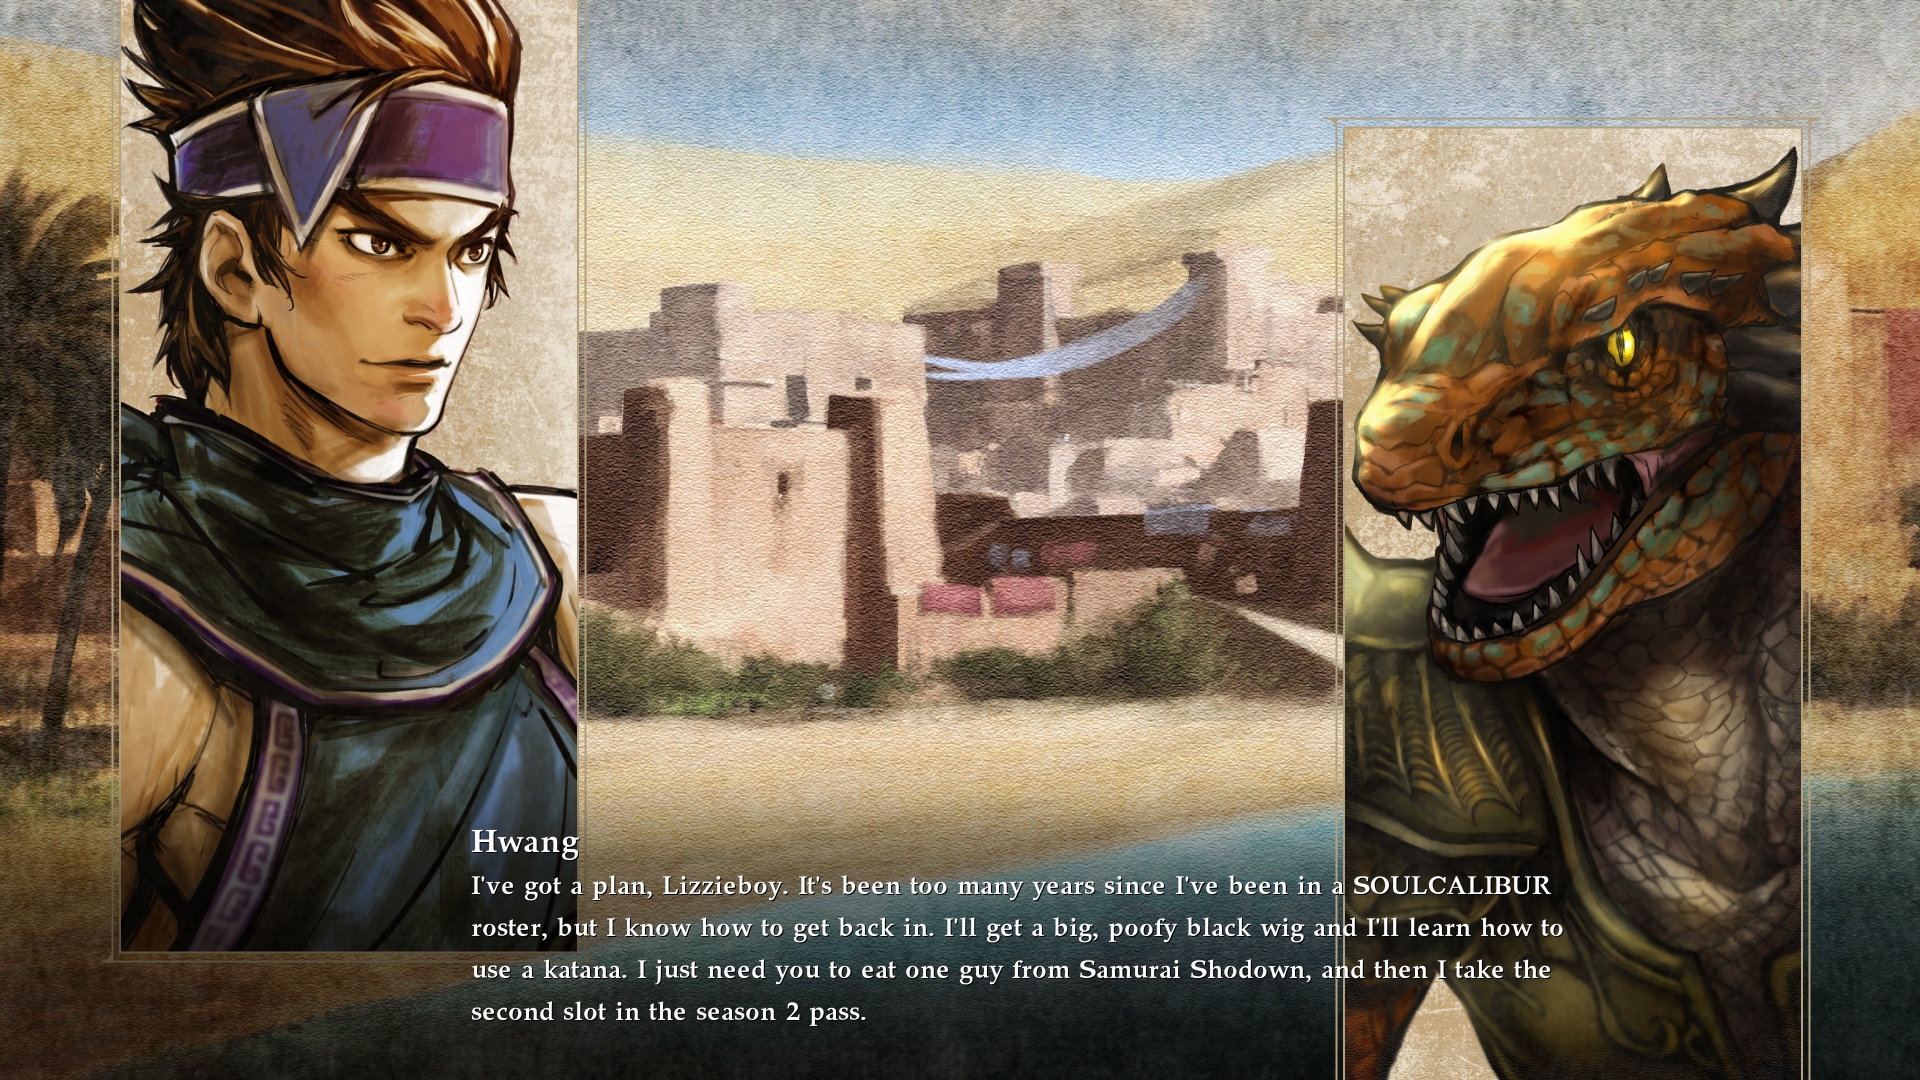
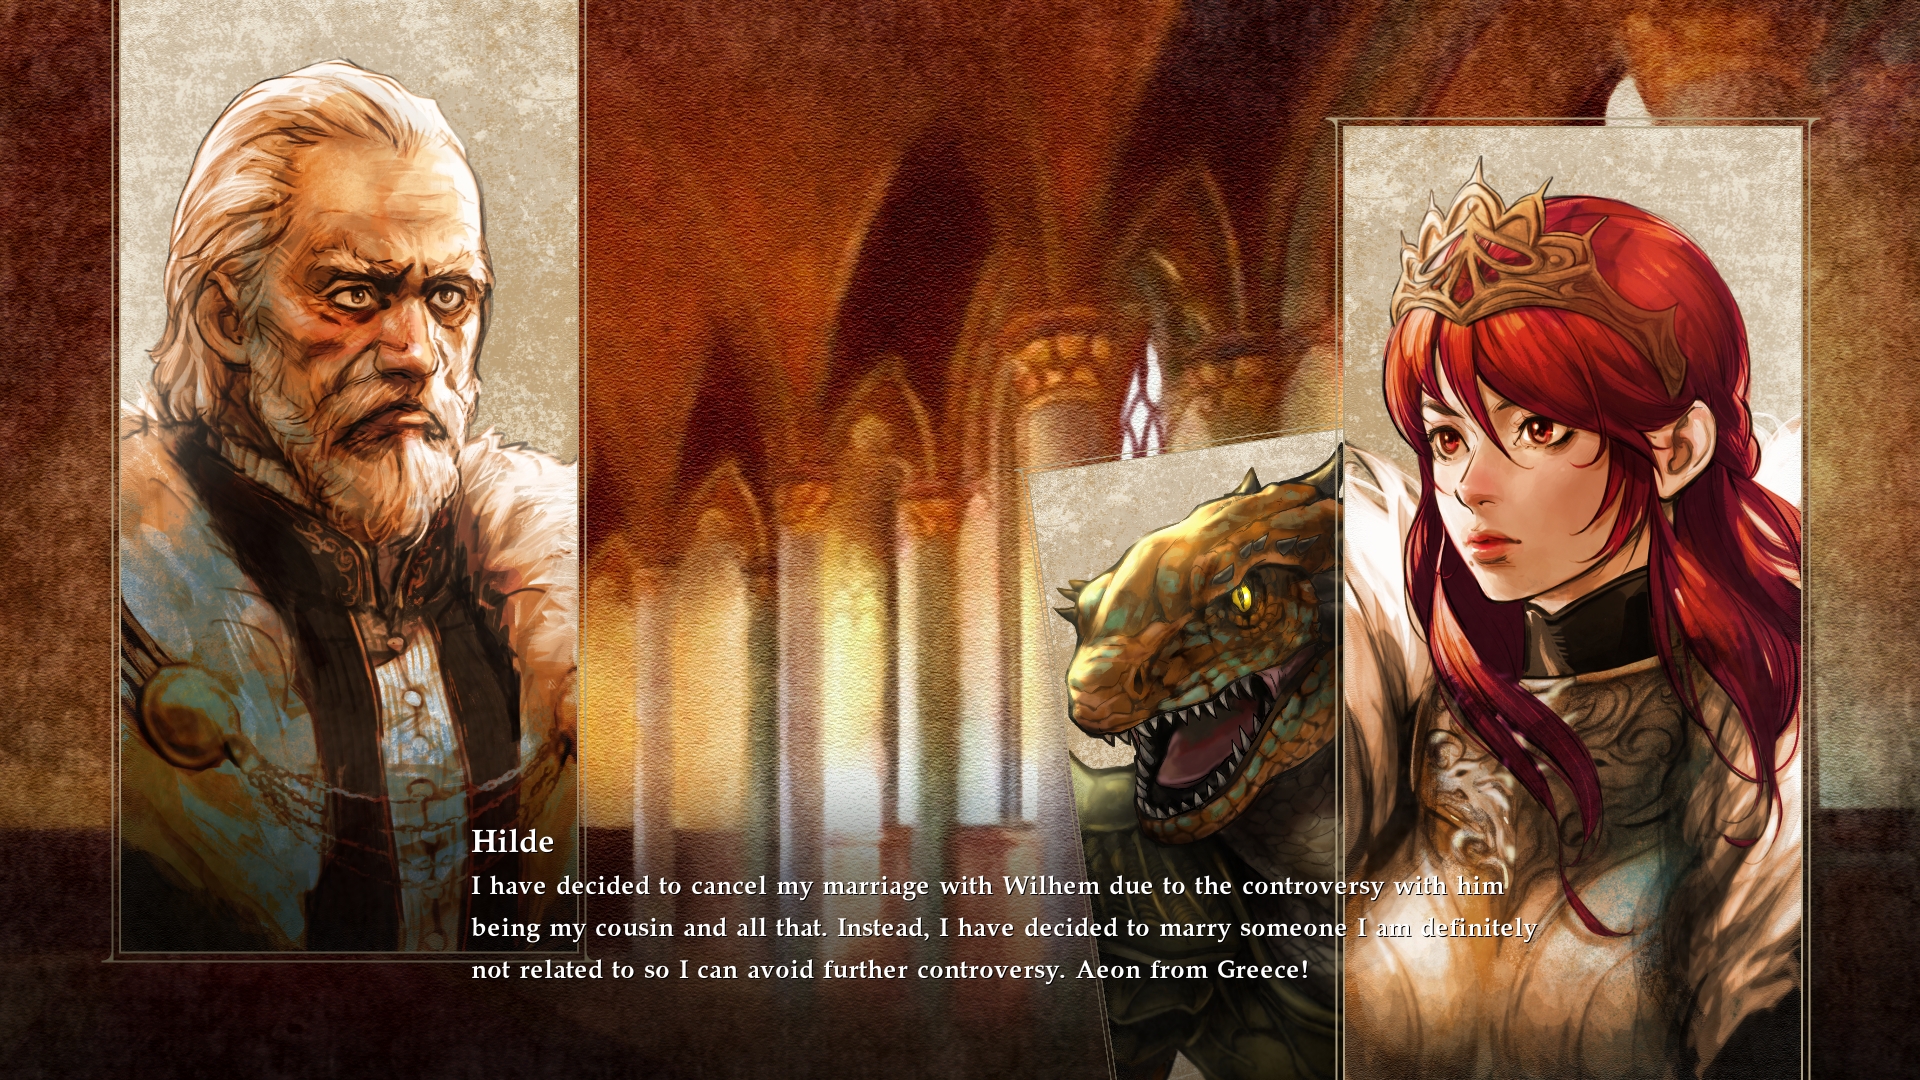
Want to make silly SoulCalibur 6 images in the style of the game’s Soul Chronicle scenes? Ie, like these:
I wanted intermission scenes like this for my streams, so I made a script for my streaming/podcasting tool (aka Fluffiest Podcast Tool) to display scenes in this style. If people want to make scenes of the same style, here are instructions on how to get it set up.
First of all, you’ll need to download this which is the streaming/podcasting tool with a large collection of character portraits and backgrounds: https://mega.nz/file/BYclRSLJ#HlQwUpNHbTREt4GJHytZ_nowEqiuCZsh6RpU6K7YTf4
The process requires a few steps (this is a tool made for streaming, so not exactly designed for making images). Here’s what you do:
- Unpack SC6VN.rar anywhere.
- Open Data\Scripts\Scene.fsc in a text editor.
- Look through Data\Set01 for a background image you want to use (if you add your own, make sure it’s 1920×1080). Search for “ChangePicture” line in the script and replace the second part of the line with the name of the background filename.
- Look through Data\Puppets for portrait images you want to use. Search for “AddScenePuppet” lines in the script, and replace the third part of it with the names of the portrait images.
- Search for SC6VN_Name and SC6VN_Dialogue in the script to replace the name of the character talking and their dialogue.
- Boot up Podcast.exe, click on “Scene list”, and then click on “Scene_SC6”
- Your custom scene should now be visible. Press F12 to take a screenshot (it will be saved to the Screenshots folder).
- To make it reload the scene with a modified script, then click on “Reload scripts” and “Repeat last scene” in the menu you get when pressing the escape key.
If you’re experienced with an image editor like Photoshop, you can easily create similar images by arranging the assets appropriately as layers. If you prefer doing that, you can use the assets which are in the above download. The font is in Data/Fonts/SC6 and Data/Puppets/SC6VN-ShadowOverlay.png is the dark gradient which is rendered behind the text.